Friday, July 22, 2011

Cinnamon Roll Cheesecake

I love a good breakfast on a Saturday or Sunday morning. The problem is, I don't ever want to get up in the morning to make that breakfast. Growing up, my mom would make cinnamon rolls every Sunday morning. The big, gooey cinnamon rolls are my favorite. If you love cinnamon rolls and cheesecake--this recipe is for you! I've made it three times now and it gets better each time. It's a perfect mixture of a cinnamon roll with cheesecake. Who would've thought this would ever be possible?!

Ingredients:

Cinnamon Roll Batter:
* 2/3 cup white sugar
* ¼ cup unsalted butter, at room temperature
* 1 egg, room temp
* ½ cup whole milk, room temp
* 1 TBSP vanilla extract
* 2 cups flour
* 2 tsp baking powder
* 1/2 tsp salt
Cheesecake filling:
* 2 pkg. (8 oz. each) cream cheese, at room temperature
* 1 cup sugar
* 1 TBSP vanilla extract
* 2 TBSP flour
* 3 eggs, room temp

Cinnamon Filling:
* 1/3 cup butter, melted
* 1 cup brown sugar
* 3 TBSP cinnamon

Cream Cheese Frosting:
* 2 ounces cream cheese, at room temperature
* 3 TBSP unsalted butter, at room temperature
* 1 TBSP lemon juice
* 2 tsp vanilla
* 1 cup powdered sugar
* milk (if needed to thin frosting)


I totally forgot the tub of butter in this picture!

Directions:

1. Preheat oven to 350 degrees F.

2. Grease a 9-inch Springform pan.

Cinnamon Roll Batter:
1. Using a stand mixer with a paddle attachment (or hand mixer) cream together the butter and sugar for 3 minutes, until light and fluffy.


2. Add egg, milk, and vanilla. Beat for another minute. Scrape down bowl.

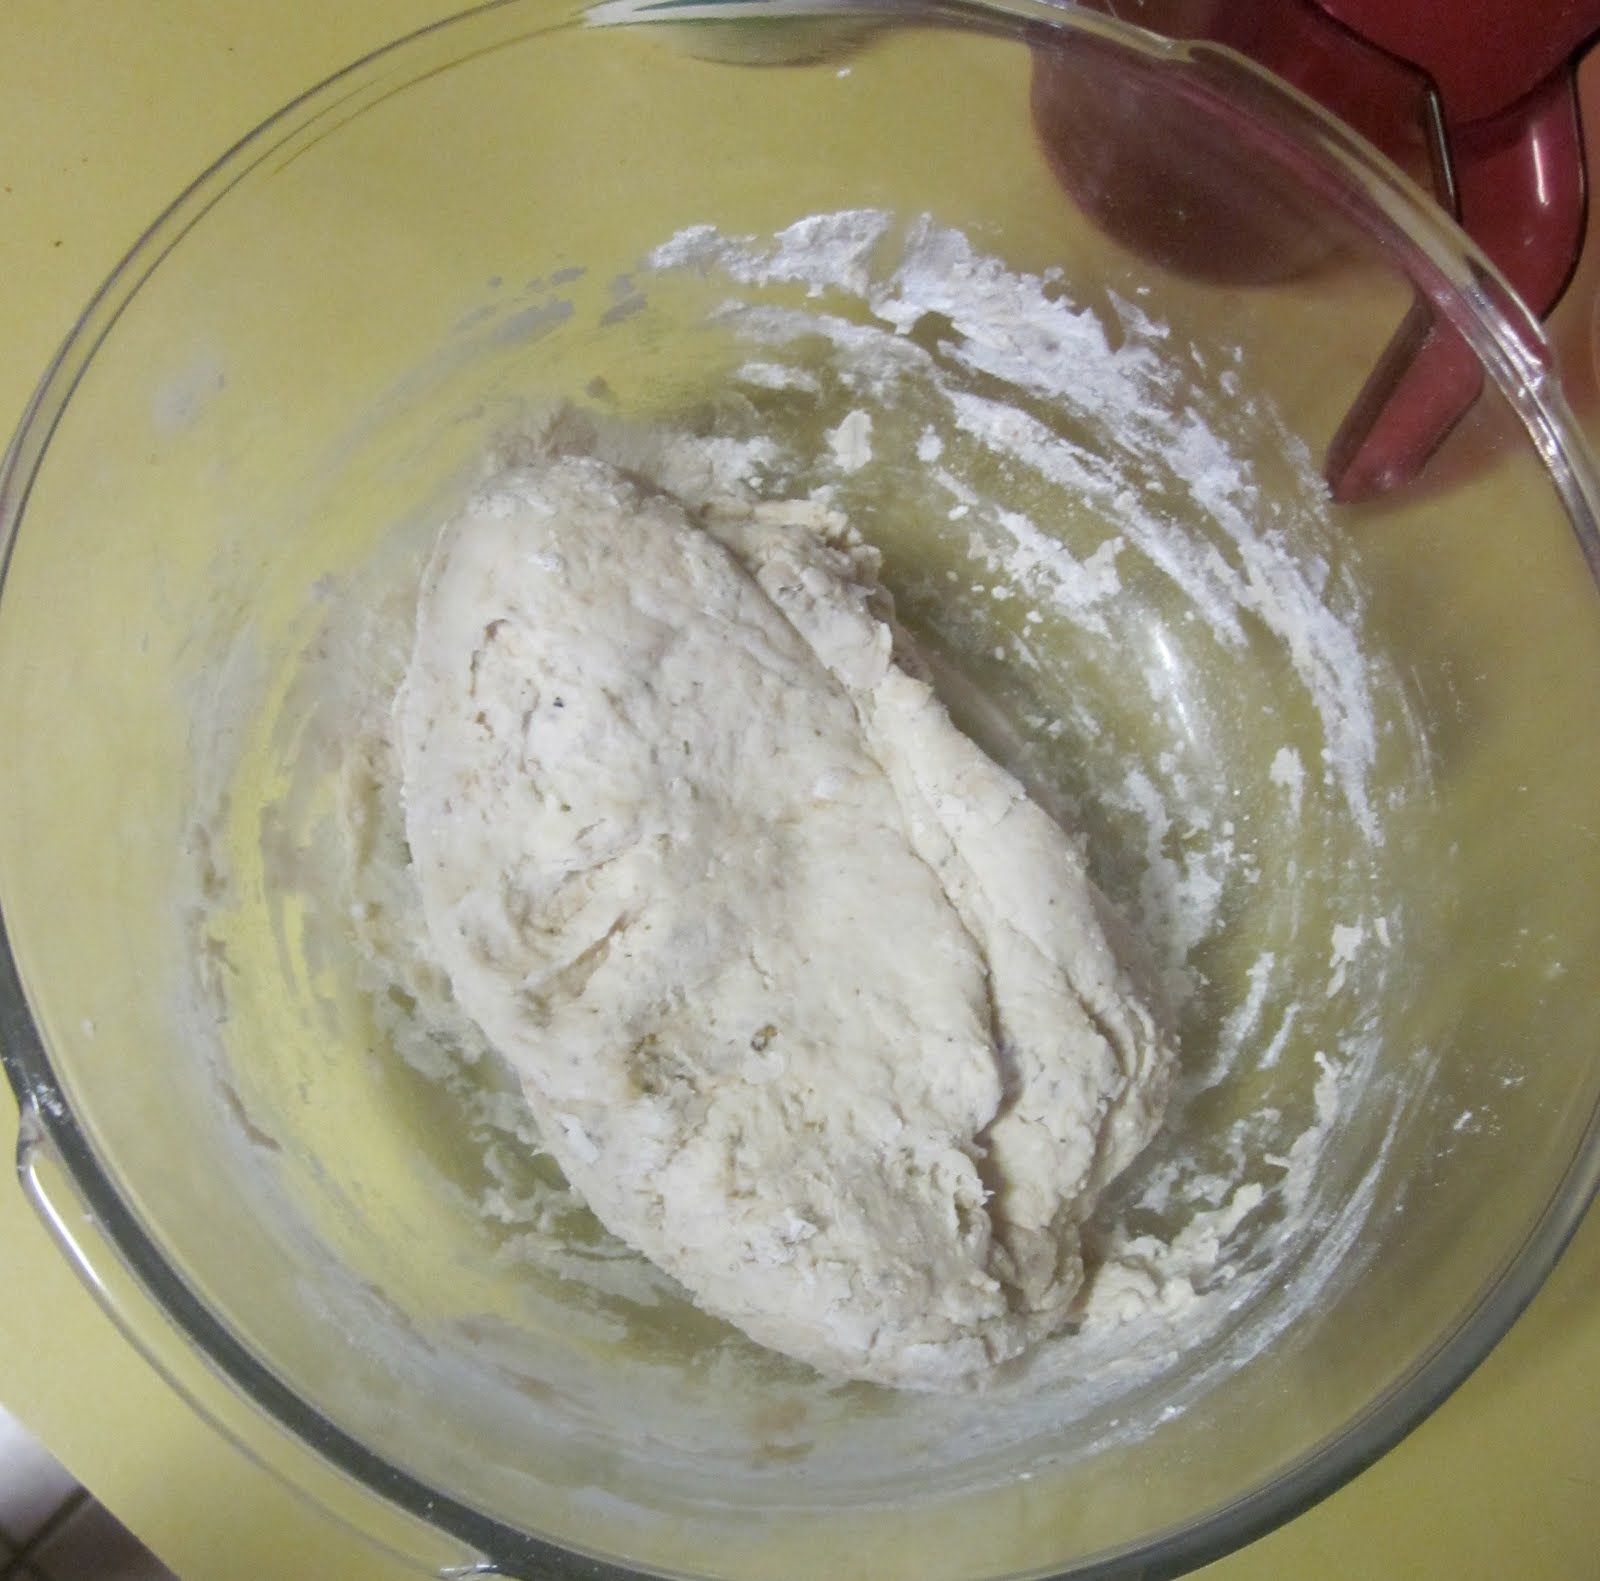
3. Sift together flour, baking powder, and salt. Combine the sifted and creamed ingredients together. Mix on low speed until throughly combined.


4. Spread half of the batter onto the bottom of the Springform pan. It will be sticky and thick so spray your hands with baking spray and press down. It will be a thin layer, but trust me it will rise up during baking.


For the Cheesecake Filling:
1. Using a stand mixer (and a clean bowl) fitted with paddle attachment, beat cream cheese and sugar for 2 minutes on medium-high speed.

2. Add the eggs one at a time, scraping down the bowl after each addition.

3. Add the vanilla and flour and beat for another minute.


4. Pour all of the cheesecake batter on top of the cinnamon roll batter that is in the prepared pan


Cinnamon Filling:
1. In a small bowl, combine the melted butter, cinnamon, and brown sugar. Mix until thoroughly combined.


2. Drop spoonfuls of the cinnamon filling over the entire top of the cheesecake.


Final Process:

1. Take the rest of the base batter and drop spoonfuls over the entire top of cheesecake. Once finished, take a knife to swirl the ingredients together. This is hard to do as the batter is pretty thick, just do what you can. I found myself using my fingers and gently spread it apart.


2. Bake for about 50-55 minutes, cake will be puffy and lightly browned. Let chill for 20 minutes at room temperature and then cover and move to fridge for 4 hours. Remove cake and let it warm up to room temperature just a bit.


3. After four hours, frost with Cream Cheese Frosting.


Cream Cheese Frosting:
1. Using a stand mixer (and a clean bowl) with paddle attachment, beat the cream cheese and butter together for 2 minutes.

2. Add remaining ingredients and beat until desired consistency is reached. If too thick, thin out with milk.


*courtesy of Peabody Concoctions

Wednesday, July 20, 2011

Peanut Butter & Chocolate Cupcake

Two flavors that I love to make different combinations with are peanutbutter and chocolate. This was my second recipe I've used for a peanutbutter buttercream. Much tastier than the first. I like buttercreams that are easy to frost. Although I find myself adding more milk than called for, in the end it tastes much better. For my chocolate cupcake, I use pretty much the same recipe everytime. Also my ganache recipe has stayed the same for everything. For the longest time I've had problem after problem with ganache. In the end, I'd find my kitchen covered in chocolate. I'd researched and researched how to perfect ganache and have it harden faster. The first three or four times I had made it, it took six hours to thicken. Six hours is a LONG time. I thank my husband greatly for perfecting it. While chatting with Sophie and Katherine, the one question I wanted to ask was about ganache since I use their recipe. I was too embarassed so my husband stepped forward and got the answer! Using a double boiler, I now don't heat the chocolate and heavy cream over the stove. I bring the heavy cream to a boil and then remove from the heat and pour the chocolate chips in. Let it sit for a couple of minutes and then stir. The chocolate should melt and be thicker than if you had boiled it together. Also, for piping reasons, I either hand mix the ganache or just put it in the stand mixer and mix and mix and mix until I have my desired consistency. So long six hour wait! To fill the ganache into the middle of the cupcake, I use an apple corer. Usually I'll make two holes in the cupcake so you can get a good chunk of filling and not be teased by just having a little bit of it. I then let it cool and pipe on the frosting afterwards!!! I found that with this cupcake, it tastes excellent when it's been in the refridgerator for a little bit. To me, it tasted like a reeses cup. You can also add some chocolate shavings to the top if you want. This is a recipe worth making!

Peanut Butter Frosting Ingredients:

* 8 tablespoons unsalted butter, softened
* 1/2 cup smooth peanut butter
* 3/4 cup confectioners sugar
* 1 pinch salt
* 1/2 teaspoon vanilla extract
* 1 tablespoon heavy cream

Ganache Ingredients (For filling)
* 1 cup chocolate chips
* 1/2 cup heavy cream

Chocolate Cupcake Ingredients:
* 1 1/4 cups flour, sifted
* 1/2 teaspoon baking soda, sifted
* 1/4 teaspoon salt
* 8 tablespoons (4 ounces) unsalted butter, room temperature
* 1 1/4 cups sugar
* 2 large eggs, at room temperature
* 1 1/4 teaspoons vanilla extract
* 1 cup whole milk, at room temperature
* 1/2 cup cocoa powder, sifted

Cupcake Directions:
1. For the cupcakes: Preheat the oven to 350 degrees. Line a standard cupcake pan with 12 baking cups, and a second pan with 6 baking cups. (I can sometimes get more out of the batter than 18)

2. Sift together the flour, baking soda and salt in separate bowl.

3. Place the butter in the bowl of a stand mixer or hand-held electric mixer. Beat on medium speed until fluffy. Stop to add the sugar; beat on medium speed until well incorporated.
4. Add the eggs one at a time, mixing slowly after each addition.

5. Combine the vanilla extract and milk in a large liquid measuring cup.

6. Reduce the speed to low. Add one-third of the flour mixture to the butter mixture, then gradually add one-third of the milk mixture, beating until well incorporated. Add another one-third of the flour mixture, followed by one-third of the milk mixture. Stop to scrape down the bowl as needed. Add the remaining flour mixture, followed by the remaining milk mixture, and beat just until combined.

7. Add the cocoa powder, beating (on low speed) just until incorporated.
Use a standard-size ice cream scoop to fill each cupcake paper with batter, so that the wells are two-thirds full. Bake for 18 to 20 minutes (start checking at 15 minutes) or until a toothpick inserted into the center of a cupcake comes out clean. Transfer the pan to a wire rack to cool completely.

Ganache Directions:
1. Using double boiler, pour heavy cream into pan and bring to a boil, stirring constantly.

2. Once boiling, remove from heat and pour in chocolate chips.

3. Let chocolate start to melt and then stir until all is melted.

4. Pour ganache mixture into a bowl of either a standing mixer or a regular bowl to mix in and beat until you have your desired consistency to fill cupcakes. If you don't want to use a mixer, just wait until the ganache has cooled down before filling cupcakes for best results.

Peanut Butter Buttercream Frosting Directions:

1.In standing mixer fitted with whisk attachment, beat butter and peanut butter at medium-high speed until smooth, about 20 seconds.

2. Add confectioners' sugar and salt; beat at medium-low speed until most of the sugar is moistened, about 45 seconds.

3. Scrape down bowl and beat at medium speed until mixture is fully combined, about 15 seconds; scrape bowl, add vanilla and heavy cream, and beat at medium speed until incorporated, about 10 seconds, then increase speed to medium-high and beat until light and fluffy, about 4 minutes, scraping down bowl once or twice.

*Note, If you want a thinner frosting, add milk until reaching desired consistency.


*inspired by Georgetown Cupcake, food.com

Tuesday, July 19, 2011

Hummingbird Cupcake

One of my favorite tv shows, if not my favorite, is DC Cupcakes. They are a big inspiration to me. After meeting them a month ago and talking with the for a bit, I love them even more!! They were on Martha Stewart promoting season 2 of DC Cupcakes and gave out their Hummingbird Cupcake recipe. I jumped on making it within a week of them giving it out and it is my favorite cupcake that I've made so far. You've gotta try it atleast once!!! Since this was made awhile ago, I don't have step-by-step instructions.

Ingredients:
* 1 1/4 cups all-purpose flour
* 1 1/2 teaspoons baking powder
* 1 teaspoon ground cinnamon
* 1/4 teaspoon freshly grated nutmeg
* 1/4 teaspoon salt
* 1/2 cup (1 stick) unsalted butter
* 1 cup granulated sugar
* 2 large eggs, room temperature
* 1 cup mashed ripe bananas (from about 3 large bananas)
* 1 tablespoon clover honey
* 1 cup chopped pecans
* 1/2 cup crushed pineapple, drained
* 1/4 cup hot water

Cream Cheese Frosting Ingredients:
* 1/4 cup (1/2 stick) unsalted butter, room temperature
* 4 cups confectioners' sugar, sifted
* 1/4 teaspoon pure vanilla extract
* 6 ounces cream cheese, room temperature

Directions:

1. Preheat oven to 350 degrees. Line a standard 12-cup muffin tin with cupcake liners; set aside.

2. In a medium bowl, whisk together flour, baking powder, cinnamon, nutmeg, and salt; set aside.

3. Place butter in the bowl of an electric mixer fitted with the paddle attachment; beat on medium speed until fluffy. Add sugar, and cream together until well combined, 2 to 3 minutes.

4. Add eggs, one at a time, beating slowly after each addition. Add banana and honey and mix on low until well combined. Add pineapple; mix on low until combined. Add 1/2 cup pecans; mix on low until well combined.

5.With the mixer on low, slowly add one-third of the flour mixture, followed by one-third of the hot water. Repeat process twice, alternating flour mixture and hot water, and ending with hot water. Mix until just combined.

6.Fill each muffin cup two-thirds full with batter. Transfer to oven and bake until a toothpick inserted into the center comes out clean, 24 to 26 minutes. Transfer pan to a wire rack; let cupcakes cool completely.

7. Transfer frosting to a pastry bag fitted with your tip of choice. Pipe frosting onto cooled cupcakes and set aside.

8. Sprinkle cupcakes with remaining 1/2 cup pecans.


Monday, July 18, 2011

Pineapple Mixed Fruit

Happy Monday everyone! Usually on my weekends, I like to indulge in sweet food and sometimes just over do it. Especially chocolate! In Hawaii, I learned that I love to eat fruit if it's presented in a fun way! This is embarassing for me but I always thought that in order to get the pineapple out of the pineapple, you had to cut the peeling off. Wellll, thank you Williams-Sonoma for teaching me otherwise! My husband and I went to the Williams-Sonoma in Honolulu and they were promoting their fancy juicer. I watched the guy using a pineapple corer to get the pineapple out and ever since then I've been excited to do that on my own. This weekend I purchased a pineapple corer at Bed, Bath & Beyond and it has put me on a fruit kick! If you want a fun way to present a fruit dish at a BBQ or if you're like me and would eat fruit if it was presented in a fun way, this tool is for you!!! After coring the pineapple, I chopped some up along with some strawberries, threw some grapes in the mix, and was good to go!

This is the tool to look for:

Friday, July 15, 2011

Red Velvet Chocolate Chip Cookies

For awhile now, I've been wondering what else I could possibly do with boxed cake mixes other than use them for their purpose. I came up with one idea that I'm still waiting to try out, and then I ran across a funfetti cookie on Lovin From The Oven's page. As much as I'd rather have a funfetti cookie, I didn't have any funfetti mix so I opted to replace it with red velvet. When baking cookies, I usually lay down parchment paper on my baking sheet. Since I haven't baked any cookies in a long time, I don't have any parchment paper. The cookies would've been more poofy if I would've had some! Also, you don't have to sift your dry ingredients - I just prefer to do so. But, here it goes :)


Ingredients:

* 3/4 cup flour, sifted
* 1 1/4 cup red velvet mix, sifted
* 1/4 teaspoon baking soda, sifted
* 3/4 cup softened butter
* 1 egg
* 1 egg yolk
* 2 teaspoon vanilla
* 1/2 cup sugar
* 1/2 cup brown sugar
* 1 cup chocolate chips


Directions:

1. Cream together the butter and sugars. Mix in the egg yolk, egg, and vanilla until creamy.


2. In a separate bowl, sift together the flour, baking soda, and cake mix.


when sifted and whisked together:


3. Mix dry ingredients into wet ingredients. Beat on slow.


4. Stir in chocolate chips. Refrigerate for atleast an hour.


5. Scoop dough onto greased cookie sheet (if not using parchment paper) and bake for 12-15 minutes.

Just out of the oven


Critique: If you want to really taste the red velvet in the cookie, don't add the chocolate chips! When I get a bite with chocolate chips in it-it just tastes like a chocolate chip cookie. But when you take a bite of just the dough part, it definitley does taste like red velvet! Not too bad for turning a box mix into a cookie!!


*Adapted from Lovin' From The Oven

Thursday, July 14, 2011

Focaccia Bread

When my husband and I went to Hawaii a couple of weeks ago, we stopped by the Aloha Stadium for the Swap Meet. We were so hungry and didn't really know what to expect or if there would even be any food there. After about a half hour of walking around, we came up to a booth with a man selling sandwiches. Keep in mind, my husband and I are super picky eaters. We decided we would get one and split it, just incase we didn't like it. It was focaccia bread with different sausages, pepperoni, and five different cheeses inside. It smelled absolutley amazing. After one bite I told Chris I just couldn't share it and had to have my own. Apparently he was thinking the same thing because he didn't want to share either! Last night I decided to try out a foacaccia bread recipe before I tried to make this sandwich! The bread actually turned out a lot better than I thought it would. I'm not a great cook so this bread turning out made my day!

Ingredients:
* 2 3/4 cups all-purpose flour

* 1 teaspoon salt
* 1 teaspoon white sugar
* 1 tablespoon active dry yeast
* 1 teaspoon garlic powder
* 1 teaspoon dried oregano
* 1 pinch ground black pepper
* 1 tablespoon vegetable oil
* 1 cup water
* 1 tablespoon grated Parmesan cheese
* 1 cup mozzarella


Directions:
1. In a large bowl, stir together the flour, salt, sugar, yeast, garlic powder, oregano and black pepper. Mix in the vegetable oil and water.


2. When the dough has pulled together, turn it out onto a lightly floured surface, and knead until smooth and elastic. Lightly oil a large bowl, place the dough in the bowl, and turn to coat with oil. Cover with a damp cloth, and let rise in a warm place for 20 minutes.


3. Preheat oven to 450 degrees F (230 degrees C). Form dough to fit in a pan. You can brush the top with olive oil, but I opted for vegetable oil since we didn't have any olive oil. Sprinkle the top with Parmesan cheese and mozzarella cheese.   Bake in the pre-heated oven for 15 minutes.


Out of the oven!


*adapted from allrecipes.com, Focaccia Bread by: Terri McCarrell

Wednesday, July 13, 2011

s'mores cheesecake

I just want to take a second and say, I'm very excited for my first post! I know you'd expect my first post to be a cupcake, but unfortunatley it isn't. When I try to plan for something to bake, I consider how many people will be eating it. My family lives nearby and I usually pawn everything off to them. They unfortunatley are going to be going on vacation in a couple of days, so the dessert needs to be eaten quickly. Therefore, a cheesecake was in order! I absolutley love smore's. Anything chocolate, I love! I read blog after blog trying to find a recipe I think I would like and I ended up using the first one I looked at.

Ingredients:

Crust:
* 2-1/4 cups graham cracker crumbs
*1/3 cup sugar
*1/2 cup butter, melted

Filling:

* 2 packages (8 ounces each) cream cheese, softened
* 1 can (14 ounces) sweetened condensed milk
* 2 teaspoons vanilla extract
* 3 eggs, lightly beaten
* 1 cup (6 ounces) miniature semisweet chocolate chips
* 1 cup miniature marshmallows

Topping:
* 1 cup miniature marshmallows
* 1/2 cup semisweet chocolate chips
* 1 tablespoon shortening


Directions:
1. In a small bowl, combine cracker crumbs and sugar; stir in butter. I mixed the butter in with a spoon for a couple minutes and then used my hands to mash it all together. Then, press onto the bottom and 1-3/4 in up the sides of a greased 10-in. springform pan; set aside.


Here's the consistency of the crust. I was excited because usually recipes that I've used in the past don't have a good ratio of butter to graham crackers and this one did!


I don't usually go up the side of the pan with the crust, I like thick base. You can do whichever you like though! There was enough crust to go up the side.

2.  In a large bowl, beat together the cream cheese, condensed milk, and vanilla until smooth.

3. Add whisked eggs and beat until combined on low. Then stir in chocolate chips, followed by marshmallows.


4. Bake at 325° for 40-45 minutes or until center is almost set. Sprinkle with marshmallows. Bake 4-6 minutes longer or until marshmallows are puffed.


5. Melt chocolate chips and shortening in a saucepan or microwave; stir until smooth. Drizzle over marshmallows.


pre-refrigerator


6. Cool on a wire rack for 10 minutes. Carefully run a knife around edge of pan to loosen; cool 1 hour longer. Refrigerate overnight. Remove sides of pan. Refrigerate leftovers.

Finished Product! This is definitley worth making again!


courtesy of taste of home